
At work, I regularly train people on the subject of Continuous Integration and Continuous Delivery, where I predominantly utilize GitHub Actions for the workshop assignments. This choice is motivated by GitHub’s extensive adoption within the developer community and the generous offering of approximately 2000 minutes or 33 hours of free build time per month.
During one of my recent workshops, a participant raised a question regarding the possibility of locally testing workflows before pushing them to GitHub. They pointed out the inconvenience of waiting for a runner to pick up their pipeline or workflow, which negatively impacts the developer experience. At that time, I was unaware of any local options for GitHub Actions. However, I have since come across a solution called “act” that addresses this issue.
What is “act”?
“act” is a command-line utility that emulates a Github Actions environment and allows you to test your Github Actions workflows on your developer laptop instead of in a Github Actions environment. You can install “act” by using for instance brew on the Mac.
| |
Running Workflows Locally
“act” enables you to execute and debug GitHub Actions workflows locally, providing a faster feedback loop during development. Running the “act” command line will pick up the workflows in your .github/workflows folder and try to execute them. Using “act” can be as simple as:
| |
“act” uses Docker to create an isolated environment that closely resembles the GitHub Actions execution environment. This ensures consistency in the execution of actions and workflows. If you don’t have Docker installed you can use Docker Desktop or use Colima, an easy way to run container runtimes on macOS.
Runners
When defining your workflow you can specify a runner based on a specific virtual machine/environment when performing your steps.
| |
By default, “act” has a mapping to a specific docker image when you specify the ubuntu-latest runner. When running “act” for the first time it will ask you to pick a default image for ubuntu-latest. You can choose from 3 types of base images that can be mapped to ubuntu-latest:
Micro Docker Image (
node:16-buster-slim)Medium Docker Image (
catthehacker/ubuntu:act-latest)Large Docker Image (
catthehacker/ubuntu:full-latest)
Don’t worry if you’re not happy with the one you selected, you can always change the default selection by changing the following file in your users home directory ~/.actrc.
The large docker image is around 18GB!!, so I initially picked the medium-sized image as it should contain most of the commonly used system dependencies. I soon learned that it contains quite some libraries, but when I tried to run a Java + Maven-based project I learned that it did not contain Apache Maven, while the normal ubuntu-latest on GitHub does have that.
| |
I didn’t want to switch to an 18GB docker image to be able to just run Maven, so I ended up finding an existing image by Jamez Perkins. It simply takes the original “act” image ghcr.io/catthehacker/ubuntu:act-latest and adds Maven version 3.x to it. You can easily specify running your workflow with custom images by providing the platform parameter.
| |
After using that image my workflow ran without any errors.
Working with multiple jobs/stages
Your GitHub actions workflow usually consists of one or more jobs that separate different stages of your workflow. You might for instance have a Build, Test and Deploy stage.
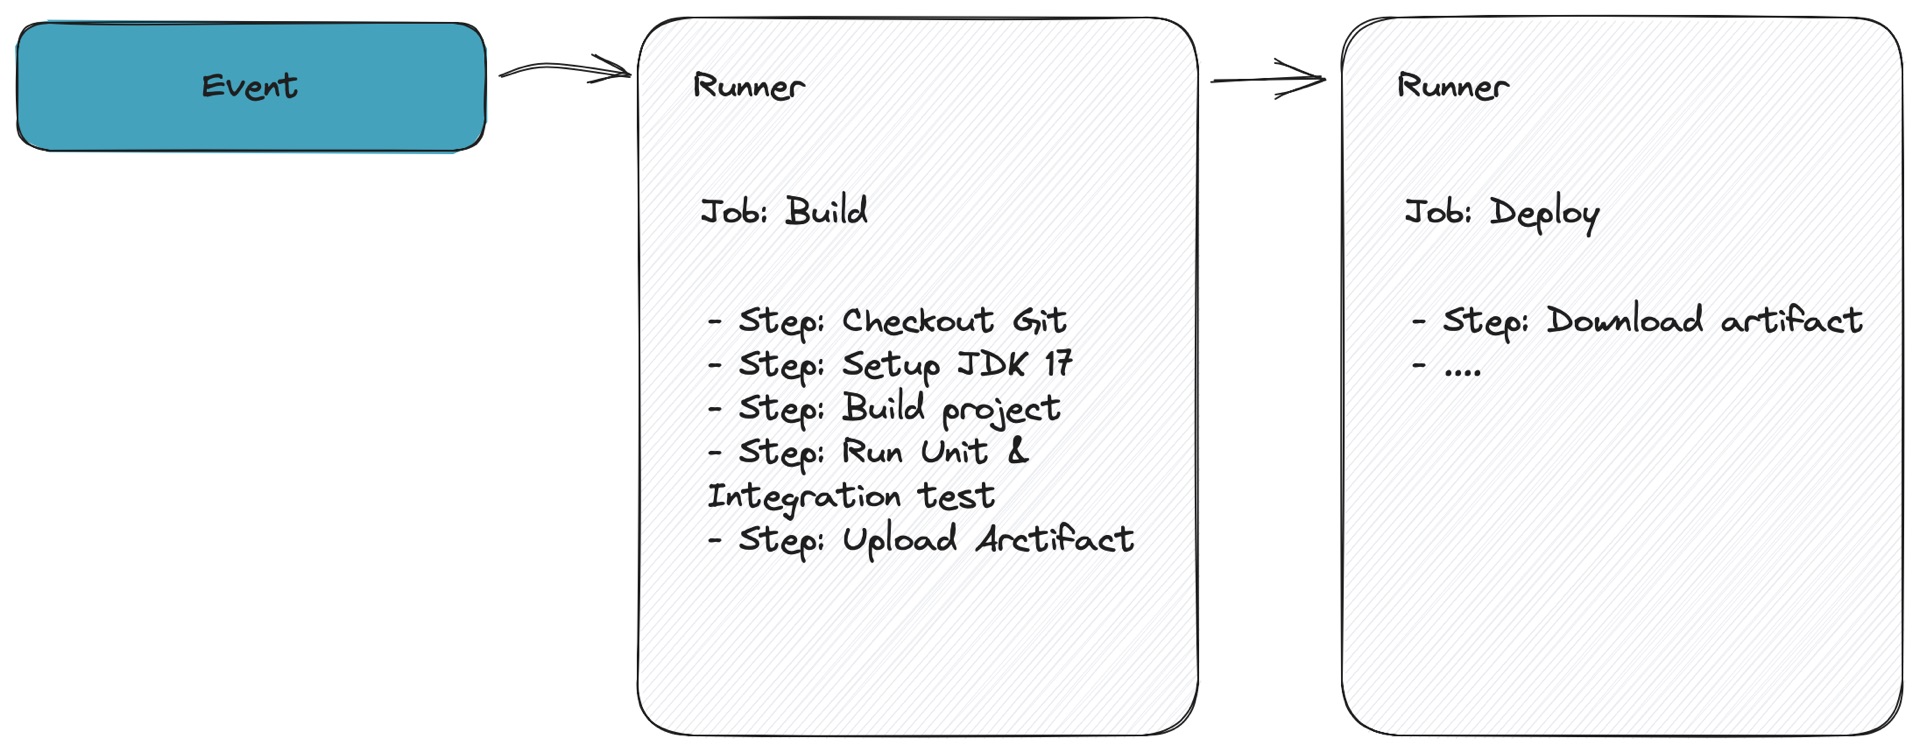
Usually, you build your application in the build job and use the resulting artifact in the deploy job. Jobs can run on different runners, so in a GitHub Actions environment, you will probably be using the upload/download artifact action which will use centralized storage for sharing the artifacts between different runners. When using “act” and sharing artifacts you will need to be specific about where the artifacts need to be stored. You can do so by providing a specific parameter named --artifact-server-path.
| |
Working with secrets
It’s a good practice to always separate your secrets from your workflow definition and only reference them from a specific secret store. When using GitHub Actions you can store your secrets in the built-in secret management functionality.
To provide an action with a secret, you can use the secrets context to access secrets you’ve created in your repository.
{% raw %}
| |
{% endraw %}
“act” does not have a UI in which you can specify secrets, so you will need to provide those values explicitly from the command line or store them in a .env formatted file when testing your workflow. If you only have a few secrets you can easily add them by just providing the secret from the command line by using the -s option.
| |
Working with environment variables
Similar to secrets you sometimes make use of environment variables inside your workflow. For a single environment variable you can use --env myenv=foo or if you have a set of environment variables you can create a dotenv file and provide a reference to the file from the CLI by providing the --env-file parameter.
| |
The .env file is based on a simple standard file format which contains a set of key-value pairs divided by new lines.
| |
Event simulation
Events are a fundamental part of workflows. Workflows will start due to some specific event happening within Github like a push, creation of a pull request, etc. With “act” you can simulate such an event to trigger your workflow(s). You can provide the event as an argument.
| |
Events are usually more complex than just a simple string so if you want to be specific you can provide a reference to an event payload:
| |
| |
By providing your events from the command line you can test different scenarios and observe how your workflows respond to those events.
Summary
Using “act” is straightforward and can significantly help in the initial phase of developing your workflow. “act” offers a significant advantage in terms of a swift feedback loop. It enables developers to perform tests locally and iterate rapidly until they achieve the desired outcome, eliminating the need to wait for GitHub’s runners to finish the workflow.
“act” additionally aids developers in avoiding resource wastage on GitHub’s runners. By conducting local tests, developers can ensure the proper functioning of their workflows before pushing code changes to the repository and initiating a workflow on GitHub’s runners.
If you’re working with GitHub Actions I would recommend to asses “act” as a tool for your development team.